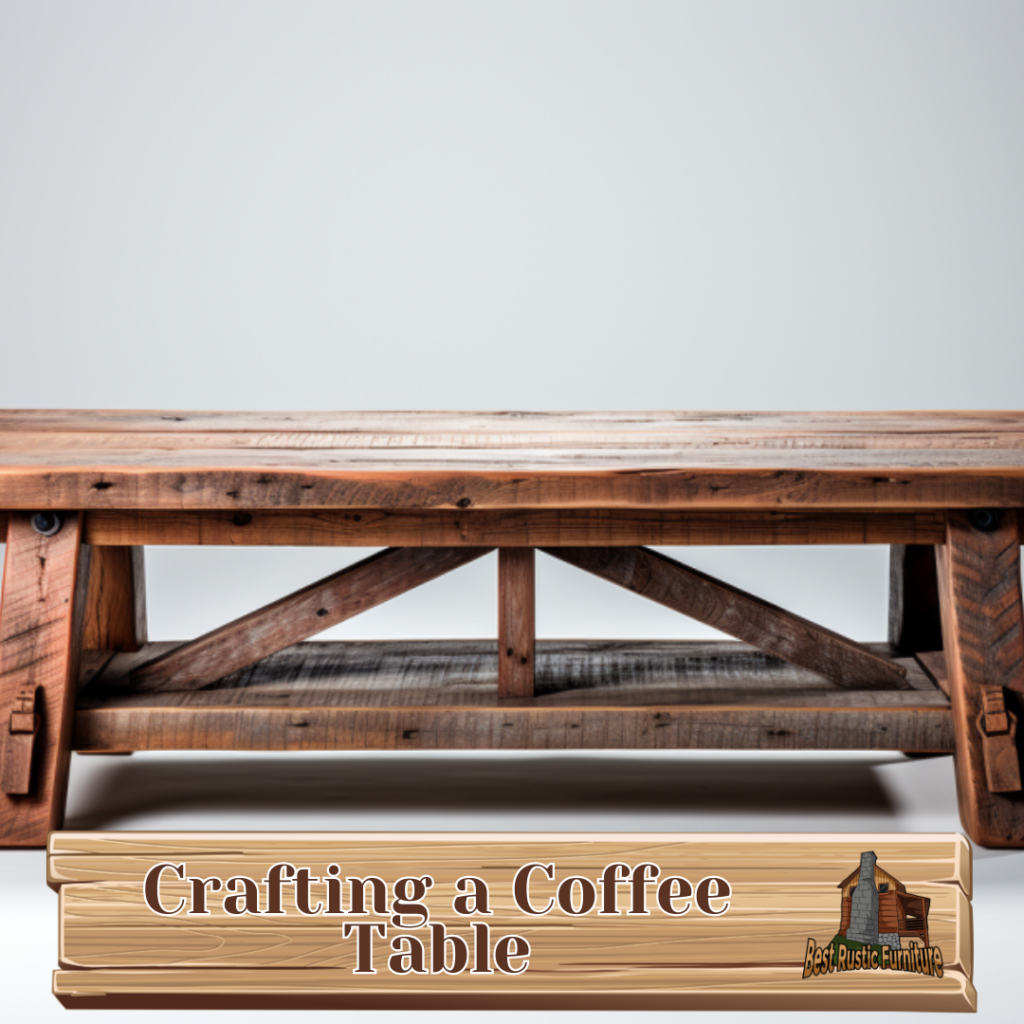
Crafting your own rustic coffee table from scratch can be a fulfilling and rewarding DIY project. Not only will it add a unique touch to your home decor, but it will also showcase your creativity and craftsmanship. To get started, you will need certain materials and tools for the project. The step-by-step guide will walk you through each stage of the process, from planning and designing to assembling and finishing. there are tips and tricks that will ensure the success of your DIY rustic coffee table, such as selecting the right wood, taking accurate measurements, employing proper sanding techniques, and applying a protective finish. With this comprehensive guide, you’ll be able to create a beautiful and functional coffee table that perfectly complements your rustic aesthetic.
Key takeaways:
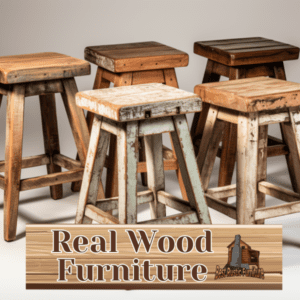
- Choosing the right wood is crucial: Select a wood type that matches the rustic aesthetic and is durable enough to withstand daily use as a coffee table.
- Accurate measurements ensure a successful build: Take precise measurements to ensure the coffee table is well-proportioned and functions properly.
- Sanding and finishing is essential for a polished look: Use proper sanding techniques and apply a protective finish to create a smooth, attractive surface for your rustic coffee table.
Materials and Tools Needed for the Project
To create a rustic coffee table from scratch, you will require the following materials and tools:
| Wood: | For the table’s top and legs, opt for a durable and sturdy wood like oak or pine. |
| Saw: | Utilize a circular saw or table saw to cut the wood into the desired dimensions. |
| Sandpaper: | Employ coarse and fine-grit sandpaper to smooth the wood’s surfaces and edges. |
| Screws: | Securely attach the legs to the tabletop using wood screws. |
| Wood Stain: | Enhance the table’s rustic appearance by applying a wood stain of your choice. |
| Brush: | Apply the wood stain evenly using a brush. |
| Drill: | Before inserting the screws, create pilot holes using a drill. |
In a small town, a couple decided to construct their own coffee table using reclaimed wood. They acquired the materials from a nearby old barn and utilized hand tools to fashion a unique and rustic piece. This endeavor not only united them but also imparted a personalized touch to their living room.
Step-by-Step Guide to Building a Rustic Coffee Table
Crafting your own rustic coffee table from scratch can be a rewarding and fulfilling project. Get ready to unleash your inner DIY enthusiast as we take you on a step-by-step journey through the process. From planning and design to sanding and finishing, we’ll cover all the key stages involved. So grab your tools, gather some wood, and let’s dive into the world of woodworking as we bring this beautiful coffee table to life.
1. Planning and Design
Planning and design play a vital role in the construction of a charming coffee table. These two steps are essential to ensure that you have a clear vision for your project and a solid plan to follow. To assist you, here are the essential steps to guide you through the process:
- Begin by measuring the space where you intend to place the coffee table.
- Consider the style and theme of your room to determine the design and materials that will best suit your needs.
- To better visualize your coffee table, create a detailed sketch or use design software.
- Make decisions regarding the dimensions, shape, and features that you desire for your coffee table.
- Select the type of wood that aligns with both your design and budget requirements.
- Ensure you have the appropriate tools and equipment necessary for the construction process.
- Formulate a plan for the joinery techniques and any additional details you would like to incorporate, such as metal accents or a distressed finish.
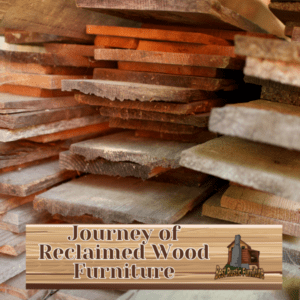
2. Gathering the Wood
To gather the wood for your DIY rustic coffee table, follow these steps:
- Decide on the type of wood you want for your table such as oak, pine, or reclaimed wood.
- Visit a local lumberyard or home improvement store to purchase the wood. Make sure to measure and note down the dimensions you need for gathering the wood.
- If you are interested in using reclaimed wood, search for salvaged materials from old furniture or buildings. Good sources for gathering the wood include Craigslist or salvage yards.
- Before using the wood, inspect it carefully for any damage or imperfections that may require repairs or removal.
- When transporting the wood to your workspace, handle it with caution to ensure protection and security during transit for gathering the wood.
- For gathering the wood, if necessary, use a saw to cut it to your desired dimensions or have it cut at the lumberyard.
- Prior to beginning the construction of your rustic coffee table, store the wood in a dry and well-ventilated area.
In the past, people would gather wood for furniture from their own land or nearby forests by relying on their skills and the availability of suitable trees. This process allowed for a sustainable use of resources and a deeper connection to nature. Today, thanks to the convenience offered by lumberyards and home improvement stores, gathering wood for DIY projects like a rustic coffee table has become more accessible to everyone.
3. Preparing the Wood
- Before undertaking the construction process of a rustic coffee table, it is important to properly prepare the wood. Here is a detailed step-by-step guide on how to effectively prepare the wood for your project:
- Firstly, begin by removing any nails or screws from the wood to ensure a smooth surface.
- Thoroughly inspect the wood for any existing cracks, knots, or imperfections that require attention.
- If you come across any cracks or holes in the wood, utilize a reliable wood filler to fill them in.
- To achieve a flawless finish, gently sand the wood starting with a coarse grit sandpaper and gradually move to a finer grit.
- In order to prevent any blotchiness or uneven staining, it is recommended to apply a wood conditioner to the surface prior to staining or painting.
- Lastly, once you have achieved your desired finish, allow the wood to completely dry before proceeding with the actual construction of your coffee table.
True story: Let me share an anecdote about a close friend of mine who embarked on the endeavor of building her own rustic coffee table. She meticulously followed the process of preparing the wood by diligently removing any nails and achieving a smooth finish through sanding. The end result was truly astounding—a magnificently crafted coffee table that effortlessly became the centerpiece of her living area. It is evident that properly preparing the wood played an indispensable role in attaining the desired rustic appearance and ensuring the long-lasting durability of the table.
4. Building the Tabletop
To build a tabletop for a rustic coffee table, follow these steps:
- Measure and cut the wood boards to the desired dimensions for the tabletop.
- Arrange the boards side by side, ensuring a tight fit.
- Use wood glue to secure the boards together.
- Place clamps along the edges to hold the boards in place while the glue dries.
- Drill pilot holes along the edges of the boards and then screw them together for added stability.
- Sand the surface of the tabletop to smooth out any rough edges.
- Apply a protective finish, such as stain or varnish, to enhance the wood’s natural beauty and provide durability.
For best results, choose high-quality wood and pay attention to detail during each step of the construction process. Remember to take precise measurements and carefully sand and finish the tabletop for a stunning final product. Enjoy your handcrafted rustic coffee table!
5. Constructing the Table Legs
- Begin constructing the table legs for your DIY rustic coffee table by measuring and cutting the lumber to the desired length.
- Next, use a miter saw or hand saw to carefully create the angled cuts for the table legs.
- For added stability, drill pilot holes into both the top and bottom of the table legs.
- Apply wood glue to the joints of the table legs and securely attach them to the tabletop.
- Using screws or nails, firmly secure the table legs to the tabletop.
- Before tightening all the screws, check the alignment and make any necessary adjustments.
- To achieve a smooth finish, sand the table legs to eliminate any rough edges or imperfections.
- Enhance the rustic look by applying a wood stain or paint of your choice to the table legs.
- Lastly, allow the finish to completely dry before moving or using your newly constructed coffee table.
By carefully following these steps, you will be able to successfully construct the table legs for your rustic coffee table, completing your DIY project.
6. Assembling the Coffee Table
To assemble a rustic coffee table from scratch, follow the steps below:
1. Gather all the necessary materials, such as wood, screws, and a drill.
2. Start assembling the coffee table by placing the tabletop flat on the ground.
3. Securely attach the table legs to the corners of the tabletop using screws and a drill.
4. Take the time to ensure that each leg is securely fastened, making any necessary adjustments as needed.
5. Once the legs are securely attached, flip the table over and check for stability.
6. If required, make any final adjustments to ensure that the table is level.
7. Congratulations! You have now successfully assembled the coffee table.
Now you can enjoy using your rustic coffee table!
7. Sanding and Finishing
To achieve a beautifully finished rustic coffee table, follow these steps for sanding and finishing:
- Start by sanding the entire table using coarse-grit sandpaper to remove any rough edges or imperfections.
- Switch to a medium-grit sandpaper and continue sanding to smooth out the surface of the table.
- Use fine-grit sandpaper for a final sanding, ensuring a smooth and even finish.
- After sanding, wipe away any dust with a damp cloth, making sure the surface is clean and dry.
- Apply a wood stain or paint of your choice to add color and enhance the natural beauty of the wood.
- Allow the stain or paint to dry completely before applying a clear sealer or varnish to protect the surface.
- Finish off by applying multiple coats of the sealer or varnish, following the manufacturer’s instructions for drying times.
The practice of sanding and finishing wood, known as sanding and finishing, dates back centuries, with craftsmen using various techniques and materials to create smooth and polished surfaces. Over time, advancements in tools and finishes have made the process easier and more effective, allowing DIYers to achieve professional-looking results. Whether you’re building a rustic coffee table or any other wood project, proper sanding and finishing techniques are key to creating a lasting and beautiful piece of furniture.
Tips and Tricks for a Successful DIY Rustic Coffee Table
Looking to craft a beautiful rustic coffee table from scratch? This section has you covered with tips and tricks for a successful DIY project. We’ll dive into key aspects like selecting the perfect wood, ensuring accurate measurements, mastering the art of sanding, and applying a protective finish. Get ready to unleash your creativity and create a stunning centerpiece for your living space!
1. Choosing the Right Wood
When selecting the appropriate wood for your rustic coffee table, it is important to consider the following factors:
– Type of wood: For a durable and naturally rustic appearance, it is recommended to choose hardwoods such as oak, maple, or walnut.
– Grain pattern: To enhance the visual interest, opt for wood with distinct and pronounced grain patterns.
– Color: Take into account the wood’s color and how it will complement your overall decor.
– Texture: Determine whether you prefer a smooth or rough texture for your coffee table.
– Sustainability: Ensure that the wood is sourced from sustainable forests to minimize the environmental impact.
2. Taking Accurate Measurements
Taking accurate measurements is absolutely vital when constructing a rustic coffee table. It ensures that the table is well-balanced, appropriately sized, and fits perfectly in your desired space. Follow this step-by-step guide to accurately measure for your DIY project:
- Start by measuring the length and width of the table’s intended location.
- Determine the desired height for your coffee table.
- Measure and mark the dimensions for the tabletop, making sure it fits within the measured space.
- Measure and mark the lengths for the table legs, considering the desired table height.
- Before cutting the wood, double-check all measurements and make adjustments if necessary.
Pro-tip: Make use of a dependable measuring tape and measure twice to minimize any errors in your coffee table’s dimensions.
3. Proper Sanding Techniques
- Follow proper sanding techniques to achieve a smooth and polished finish on your DIY rustic coffee table.
- Begin by using coarse-grit sandpaper to remove any rough surfaces or imperfections.
- Gradually transition to finer grit sandpaper to create a smoother surface.
- Always sand in the direction of the wood grain to prevent scratches.
- For even pressure and consistent results, utilize a sanding block or handheld sander.
- Make sure to regularly clean the surface and replace clogged sandpaper.
- Once you have achieved the desired smoothness, finish the process with a fine-grit sandpaper for a polished look.
- Before applying a protective finish, eliminate any dust or debris using a soft cloth or vacuum.
4. Applying a Protective Finish
After constructing your rustic coffee table, it’s crucial to apply a protective finish to ensure its longevity and durability. Here are the steps to successfully apply a protective finish:
- Prepare the surface: Clean the table thoroughly, removing any dust or debris.
- Select the finish: Choose a finish that suits your desired look and provides adequate protection, such as polyurethane or varnish.
- Apply the first coat: Using a brush, apply an even coat of finish to the entire table surface.
- Sand and smooth: After the first coat has dried, lightly sand the surface with fine-grit sandpaper to remove any imperfections.
- Apply additional coats: Repeat the process, applying additional coats of finish until you achieve the desired level of protection.
- Allow for drying: Let the table dry completely according to the manufacturer’s instructions before using or placing any objects on it.
The ancient Egyptians had the practice of applying protective finishes to their furniture, using beeswax, oil, and resin mixtures to enhance the wood surfaces. This technique, which dates back centuries, has evolved over time. Nowadays, various techniques and materials have been developed to protect and beautify furniture, leading to the wide range of finishes available today.
Some Facts About “DIY Guide: Crafting a Rustic Coffee Table from Scratch”:
- ✅ A couple found three sets of wooden cigar rollers at an antiques fair to use for the top and second shelf of the coffee table. (Source: ManMadeDIY)
- ✅ They had a difficult time finding assistance from the employees at Lowes while purchasing the rest of the materials. (Source: ManMadeDIY)
- ✅ They used four 1″ pipes, hose clamp/carbon screws, and pipe flanges to assemble the coffee table. (Source: ManMadeDIY)
- ✅ They repurposed strips of wood from an old Ikea butcher block/cart to mount the second shelf of the coffee table. (Source: ManMadeDIY)
- ✅ They finished the table top by sanding it lightly, cleaning it with a damp paper towel, and applying a clear coat three times. (Source: ManMadeDIY)
Frequently Asked Questions
FAQs for DIY Guide: Crafting a Rustic Coffee Table from Scratch
1. Where can I find the source materials for the rustic coffee table?
You can find wooden cigar rollers at antiques fairs and the rest of the materials at home improvement stores like Lowes.
2. Did the couple encounter any issues while shopping for materials at Lowes?
Yes, they had a difficult time finding assistance from the employees at Lowes.
3. How did the couple attach the top and second shelf boards to the table?
They sawed the pine into two pieces and mounted the boards and flanges on them. They used strips of wood to mount the second shelf.
4. What did the couple use to secure the second shelf at the desired height?
They drilled holes and used hose clamps to fix the second shelf in place. The carbon screw part of the clamps sticks out enough for the shelf to sit on them.
5. How did the couple finish the table top?
They lightly sanded the table top, cleaned it with a damp paper towel, and applied a clear coat three times for a polished look.
6. How can I prevent marks on the carpet from the coffee table’s pipes?
The couple did not mention adding any bottoms to the pipes to prevent marks on the carpet. You can try using rubber or felt pads.